Designed for professional performance and ease of use, the FDR-AX700 captures every subject with the realism of 4K HDR (HLG) video, thanks to Faster Hybrid AF and other pro-class capabilities. The Sony FDR-AX700 record 4K video in XAVC S format with a bitrate up to 100Mbps. After the shooting stage, if you are looking for a professional editing tool to do color correction and professional audio post production, Davinci Resolve can be your best choice. How about the workflow of Sony FDR-AX700 4K XAVC S with Davinci Resolve?
Can Davinci Resolve native import FDR-AX700 4K XAVC S video?
The Sony FDR-AX700 records 4K XAVC S format wrapped in an MP4 container and compressed with H.264 High Profile levels 5.1 and 5.2. From Davinci Resolve supported file formats, we can see that Davinci Resolve can native handle the H.264 compression codec used by FDR-AX700, however, it is well known that the H.264 is an extremely processor intensive codec, it is so compressed that your computer's cpu is having to decode it on the fly, which is a big burden.
Transcode FDR-AX700 4K XAVC S to Prores
To process the editing more quickly, it would be much ideal for you to transcode the 4K XAVC S to a finishing format such as Apple Prores. An intermediate codec which is intended for use during video editing. The Apple Prores codec can helps to retain high quality and while still require much less expensive disk system compared to uncompressed video.
Here, you can do the conversion by downloading our best Prores Converter - Pavtube Video Converter for Mac. The program has full importing support the 4K XAVC S video shot with FDR-AX700. Thanks to its batch conversion mode, you can load multiple video at one time for conversion to save your precious time.
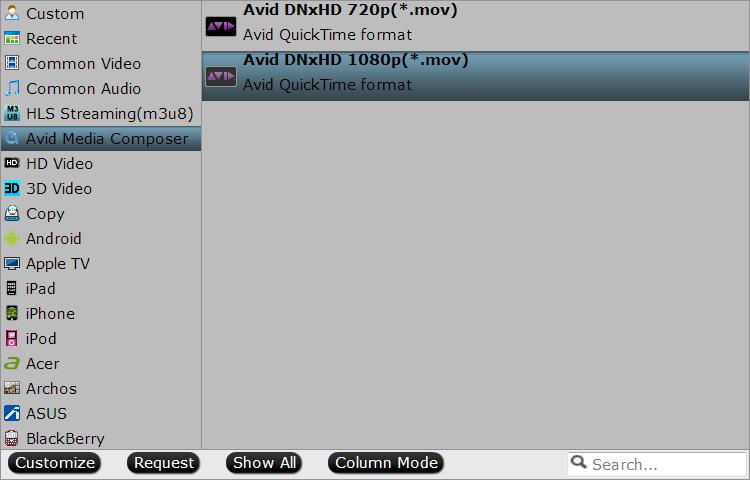
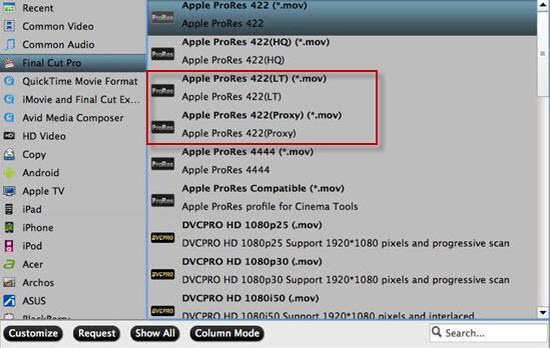
The program assists you to transcode FDR-AX700 4K XAVC S to Davinci Resolve native compatible Apple Prores format in various different file types including "Apple Prores 422(*.mov)", "Apple Prores 422(HQ)(*.mov)", "Apple Prores Proxy)(*.mov)" and "Apple Prores (LT)(*.mov). Here, you can choose the suitable ones according to your own situatin or needs.
If you computer is old or slow, or you just want to do some rough editing, you can select to output "Apple Prores Proxy)(*.mov)"or "Apple Prores (LT)(*.mov)"format to save more space and bandwidth. However, if your computer are powerful enough to handle multicam and high-resolution video and you are going to do many effects editing work with Davinci Resolve, you'd better choose to output "Apple Prores 422(*.mov)"or "Apple Prores 422(HQ)(*.mov)"for better performance.
For Windows users, please switch to download Pavtube Video Converter to perform the same codec transcoding on Windows 10/8.1/8/7.


Step by Step to Transcode Sony FDR-AX700 4K XAVC S for Davinci Resolve Editing
Step 1: Load Sony FDR-AX700 4K XAVC S footage.
Download the free trial version of the program. Launch it on your computer. Click "File" menu and select "Add Video/Audio" or click the "Add Video" button on the top tool bar to import Sony FDR-AX700 4K XAVC S into the program.

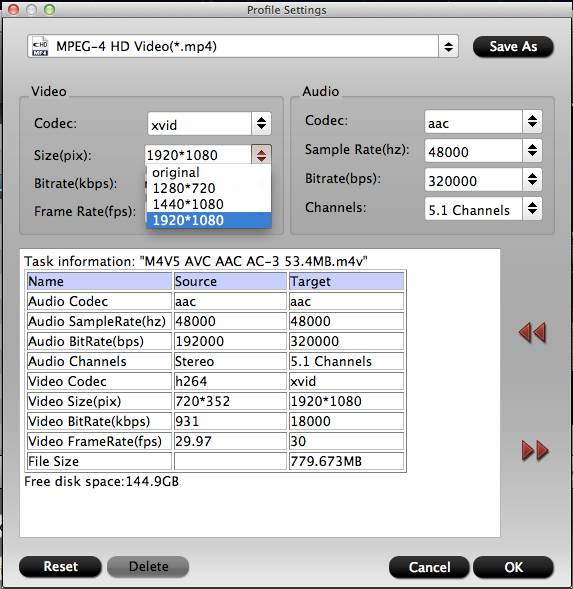
Step 2: Choose output file format.
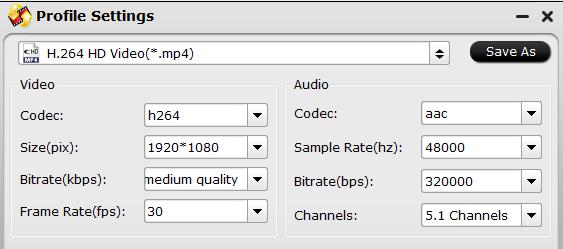
Clicking the Format bar, from its drop-down list, choose Davinci Resolve best favorable Apple Prores editing codec.
If you try to do more effects editing of the H.264 video with Davinci Resolve on powerful computer, it would be much ideal for you to choose "Apple Prores 422(*.mov)" or ""Apple Prores 422(HQ)(*.mov)"for high quality performance.

If you have a underpowered Mac computer, to get a smooth post editing workflow, it would be much ideal for you to choose"Apple Prores 422(Proxy)(*.mov)" or "Apple Prores 422(LT)(*.mov)" format.
Step 3: Start the conversion process.
After all setting is over, go back to the main interface and hit right-bottom "Convert" button to start to convert FDR-AX700 4K XAVC S to Davinci Resolve most compatible Apple Prores editing formats encoding process.
When the conversion is completed, launch Davinci Resolve on your Mac computer to import converted video to Davinci Resolve for smooth post editing workflow.
Related Articles
Any Product-related questions?support@pavtube.com