“Your website says Camtasia Studio should be able to import/edit .mov files. The only type of file my Kodak video camera produces is .mov but Camtasia won't recognize those files when I try to import them and I get a "No available codec" error.”
In regards to the latest development with QuickTime, we recommend people uninstall their QuickTime software to avoid the security vulnerabilities with that software.

Camtasia Studio will continue to operate and run as normal without the QuickTime software. However, this will have an impact on those who are producing videos to the MOV video file format. In this case, we recommend you produce to MP4 instead.
Or, this can impact some MOV videos being imported into Camtasia. In this case, please try to change the file extension on the MOV video file from .mov to .mp4 and they might work just fine.
Newer hardware systems that output MOV files usually do not need the Quicktime software or the file extension changed in order for other software programs (like Camtasia) to use the MOV files. However, the older ones do need Quicktime. In this case, we recommend you run the videos through a file convertor - Pavtube HD Video Converter for Mac(read review), to convert them to MP4, AVI, WMV etc. The support article linked to below shows you how to do this.
Download the MOV to Camtasia (8) converter:


Other Download:
- Pavtube old official address: http://www.pavtube.com/hd-video-converter-mac/
- AppStore Download: https://itunes.apple.com/de/app/pavtube-hd-video-converter/id502792488?mt=12
- Cnet Download: http://download.cnet.com/Pavtube-HD-Video-Converter/3000-2194_4-76177786.html
How to Convert MOV to Camtasia Studio format for smooth importing and editing?
Step 1. Add MOV videos
Install and run the MOV to Camtasia Studio Converter on your computer, then click "Add Video" button to browse and load your videos.

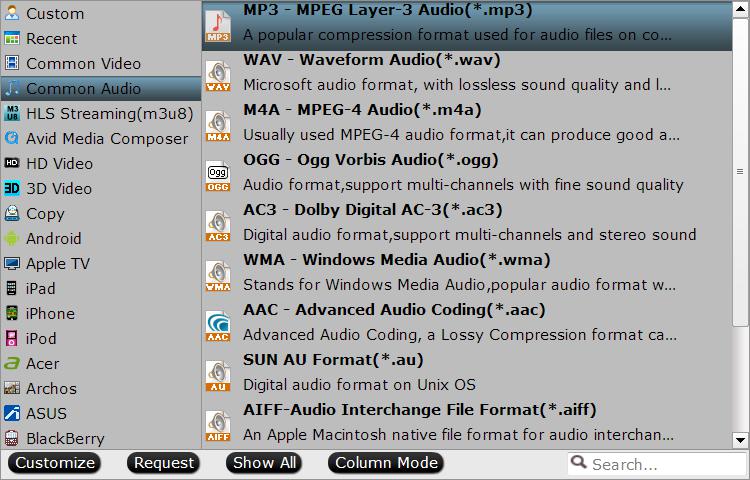
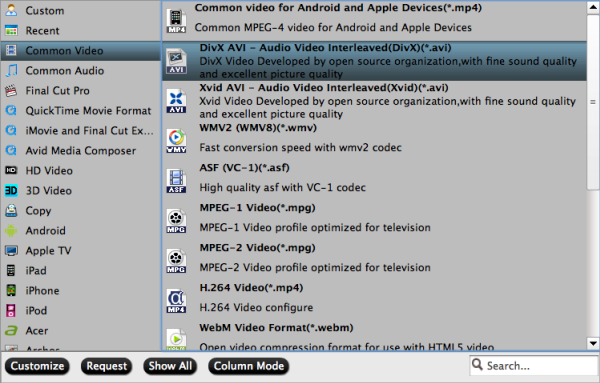
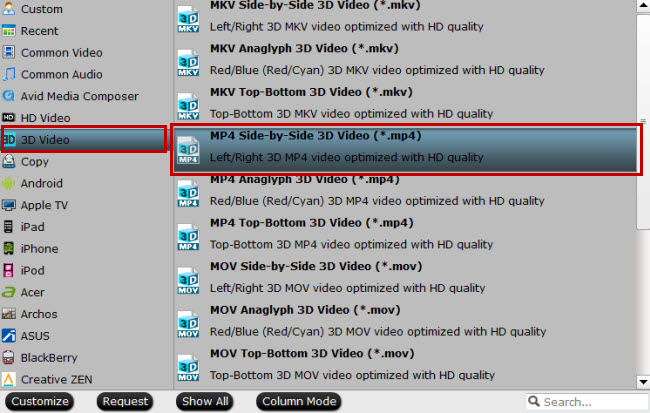
Step 2. Set right output format. Click "Format" bar, and select .mp4 from "Common video" or "HD video". Or choose QuickTime MOV fromat for Camtasia Studio.

Tips: The default settings may not satisfy you, and you can click the "Settings" button to change the settings by yourself including video resolution, bit rate, audio sample rate, audio channel etc. for full screen playback smoothly. Or keep no changes, which is also a good choice.
Step 3. Click the "Convert" button on the main interface and the software will start to convert MOV to Camtasia Studio friendly video formats immediately. When the conversion finishes, click "Open" to find the converted video files. Then you can effortless transfer the video files to Camtasia for editing.
PS: What formats Camtasia Studio supports?
1. Camtasia Studio Mac Supported Formats:
MOV (QuickTime movie), DV, MPEG-1
MP4
AIFF
MP3
WAV
AAC (m4a)
JPEG
PNG
TIFF and single-page PDF (multi-page PDF will not work properly)
2. Camtasia Studio Windows supported Formats:
AVI.
WMV.
MPEG-1.
MP3.
WAV.
WMA.
MP4 (AVC/h.264 at no more than 30 frames per second)
MOV (QuickTime for Windows must be installed for MOV import.)
Read More:
- Workflow: Sony a7 II XAVC S to Avid Media Composer on Mac OS X
- 2 Ways to Import TS files into Premiere Pro CC 2015.3
- Can't import DJI OSMO 4K files in Premiere CC 2015.3?
- Solve Premiere Pro cannot accept Typhoon-H 4K video
- Easily Solve “FCP X won't edit AVCHD files” issue
- Sync MXF to Pluraleyes 3.5/4 for smooth editing
- 2016 Top 5 Best DVD Ripper Program Review | Which One Will You Choose?(updated)