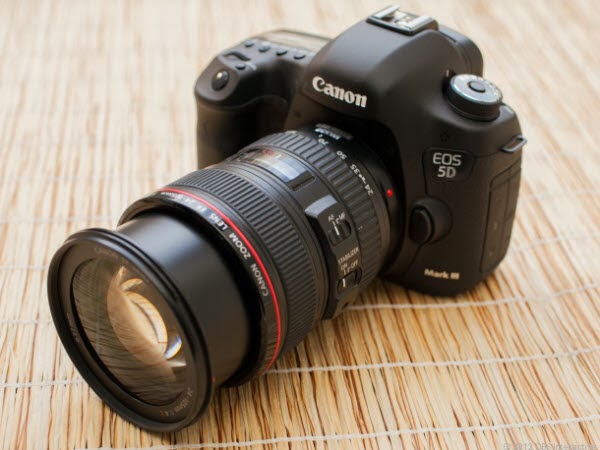
Does some Video Editor support ALL-I .mov video files from Canon 5D Mark III? If you want to edit or play 5D3 H.264 mov files, you have to convert mov to compatible MP4 format.I have been an amateur photographer for 30 years and recently retired so am now able to spend more time on my main hobby of photography. I recently purchased a Canon 5D Mark III and while my main interest is photography and travelling, I am now starting to also use the video functionality with this DSLR camera.
I am taking some family and holiday videos at 1920 x 1080 at 24fps with compression ALL-I. When I exported the .mov files from my camera to AVS Video Editor, while the software would play the files, it could not convert or edit them. (As for me, AVS Video Editor is my preferrable editing software to help me trim out of focus portions or other unwanted footage and add transitions or text. After editing my mov videos from Canon 5D Mark III, I can give copies to family members and retain as a personal archive.)
Maybe the ALL-I compression type within this codec is too high for some Editors to support. Then I'm looking for the best software to convert Canon 5D Mark iii mov files to mp4 for editing. I did some reading in forums and a number of people recommended Pavtube HD Converter from first-hand experience. I didn’t realise at the time that you also have another product Video Converter Ultimate which may have suited me better. (As it can deal with Blu-ray and DVD disc as well)
Previously I have been using AVS Video Converter and Video Editor for a number of years but when I purchased my camera recently I found AVS could not convert Canon mov files to mp4 or edit them. I like the availability of Pavtube Video Converter Ultimate to convert and merge all files into one to expedite editing. The conversion speed is excellent. With it, I can effortlessly transcode Canon 5D Mark III mov files to MP4 format for editing.
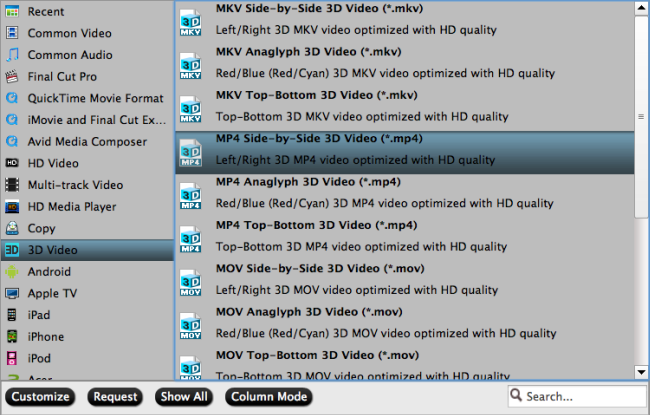
Overall, it is an all-in-all converter that can help all Windows users losslessly convert the HD footages and Blu-ray/DVD files to most popular video formats as well as importing MOV files from 5D Mark III to Pinnacle, Cyberlink, Sorenson Squeeze, Windows Movie Maker, AVS Video Editor etc. for editing. Besides, this smart converting program also provides users with useful editing functions and new features such as converting 2D videos to 3D, etc.
Guide: Transcoding Canon 5D Mark III to MP4 for editing and sharing
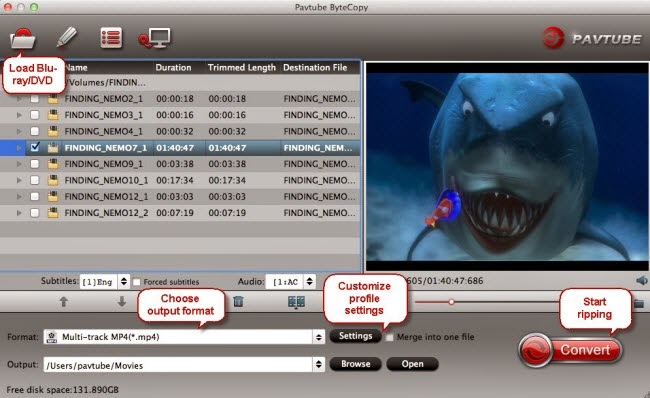
Step 1: Add mp4 footage from MP4 file folder to ALL-I H.264 MOV converter. You can directly drag and drop video files to this software.
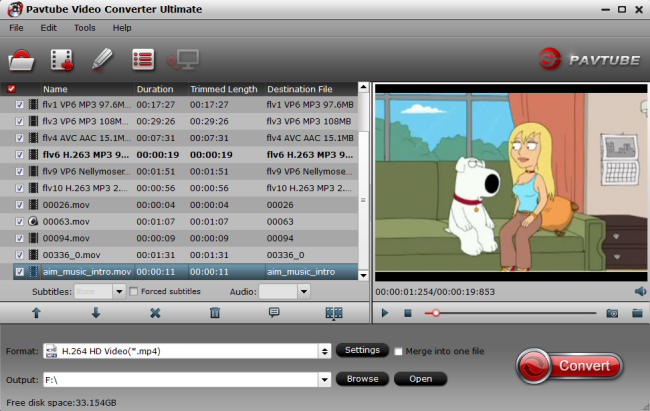
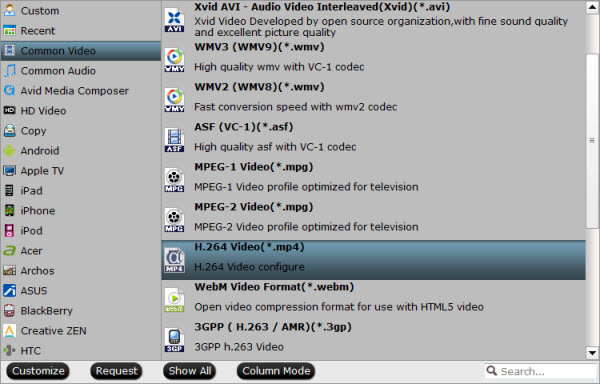
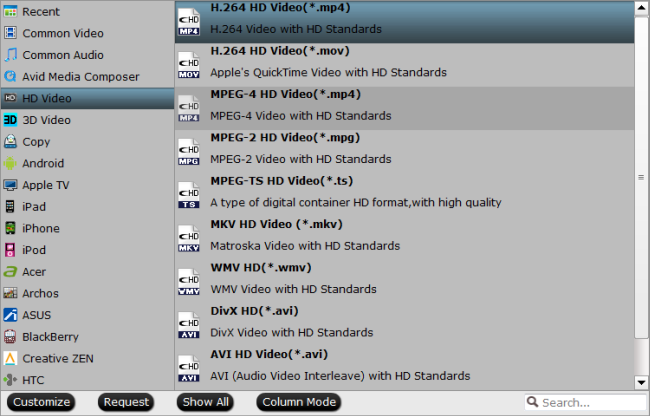
Step 2: Choose best editing and playback format.
Select HD Video -->H.264 HD Video(*.mp4) or MPEG-4 HD Video(*.mp4) on the dropdown menu as output format. Besides, you can also choose Divx HD(*.avi) or WMV HD(*.wmv) is also fit for importing or watching.
Tips:
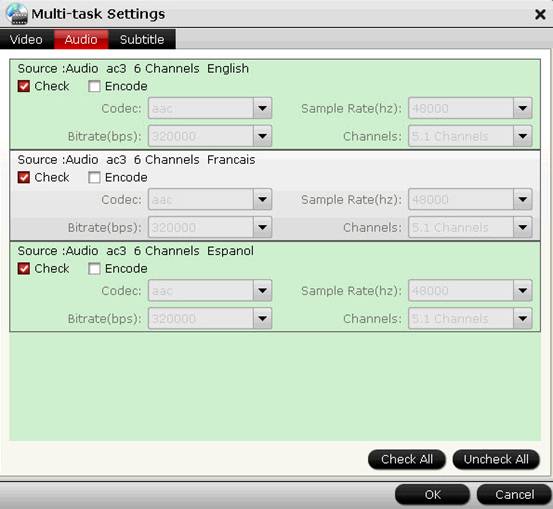
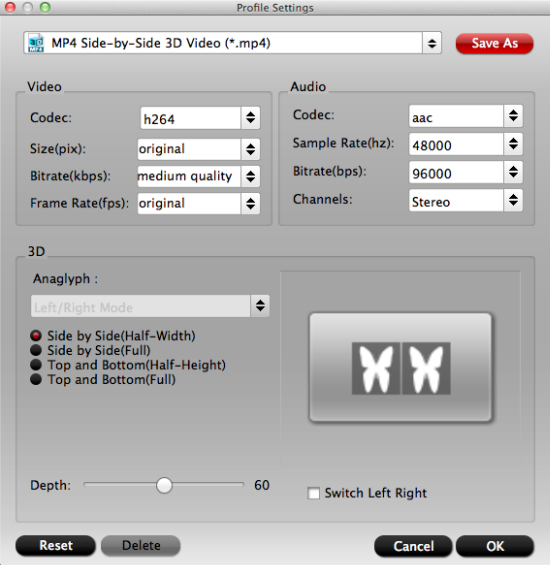
1. Video Settings:
You can adjust video and audio parameters, including the Bitrate of Video and Audio, the Codec of Video and Audio, Video Size, Sample Rate, Frame Rate, Audio Channels, etc., in the Profile Settings.
2. Edit videos as you like
Find “Edit” icon and then click it, you will find video editor. There you can Trim, Crop, Add watermark and Effect. Above all, Subtitle can be added here.
For creating customized subtitle, you can count on free software for subtitle editing: Subtitle Edit. Go to write the subtitle content there and it will be saved as SRT files, which is supported by Video Converter Ultimate. Then load it to the software for output videos and you will get a characteristic video.
3. Convert videos to different formats
Step 3: Hit "Convert" button to carry out the conversion process. When the conversion ends, you can import the resulted .mp4 files for playing or sharing easily.
Other useful guides for you:
Transcode Nikon D7100 H.264 MOV to Quicktime MOV for playing and editing on Mac
Best way to Edit/Import Canon T3i/600D MOV video into iMovie
Edit Recorded ALS Ice Bucket Challenge Videos on Mac