Description: This article offers a brief guide about how to transcode and transfer Sony Handycam HDR-PJ790V/PJ780 AVCHD footages to editing programs like Avid and Adobe Premiere Pro on Mac.
Sony recently announced new member to their Handycam family - Sony HDR-PJ780/PJ790V, which is capable of recording 1920x1080 24p/60p Full HD digital video footages and high quality 24.1MP still images.
The PJ790V/PJ780 camcorder will be the first flagship Handycam in years to arrive without the option to ditch the built-in projector. Meanwhile, technology like WiFi remains an optional add-on which make much easier to share recorded videos and images with family members and friends.
All these new features together contribute to make Sony Handycam HDR-PJ790V/PJ780 become an excellent camera for us to record vivid videos, especially the AVCHD format can deliver stunning picture quality.
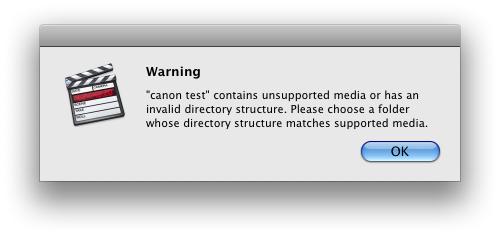
Unfortunately, most editing programs on Mac including Avid, Adobe Premiere Pro, FCP, iMovie don't favor AVCHD .MTS videos from your camera Sony PJ790V/PJ780.
To obtain Sony HDR-PJ790V/PJ780 AVCHD footages into Avid/Premiere Pro on Mac, you'd better transcode Sony AVCHD MTS footages to Avid/Adobe Premiere Pro compatible .MOV format first.
Pavtube MTS/M2TS Converter for Mac is highly recommended, which considered as a Mac Sony AVCHD MTS Converter, a Canon Vixia MTS Converter for Mac, a Panasonic AVCHD Converter for Mac etc., is specially developed for AVCHD camera/camcorder users to tanscode any AVCHD MTS/MTS footage to iMovie, Final Cut Express, Final Cut Pro,Premiere Pro, Avid, Apple Aperture 3, Kdenlive, Adobe After Effects CS6 and more similar video editing software compatible file types with least quality loss.


How to transcode Sony Handycam HDR-PJ790V/PJ780 AVCHD MTS footage to Avid/Premiere Pro on Mac?
PS: Please refer to the guides "Sony AVCHD MTS to Premiere" and "AVCHD MTS to Avid MC" if you are running Windows.
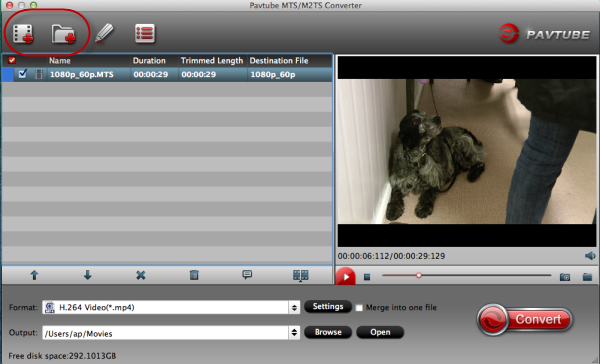
Step 1. Load Sony HDR-PJ790V/PJ780 AVCHD MTS files.
Connect your Sony Handycam camcorder to your Mac via USB, or insert your SD card to Mac, browser the .mts files from AVCHD > BDMV > STREAM. Load your source media from Sony Handycam camcorder or local computer which you have copied from camcorder before into Pavtube MTS/M2TS Converter for Mac.

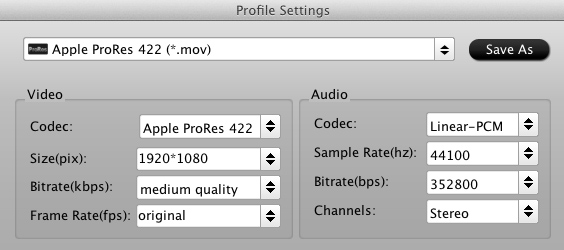
Step 2. Select Output format.
Click on the "Format" bar and you would see all profile presets this Mac Sony AVCHD to MOV Converter provides. You are recommended to choose "Avid DNxHD (*.mov)"as output format for Avid Media Composer:

and "MOV (AVC) (*.mov)" as output format under Adobe Premiere/Sony Vegas catalogue for Adobe Premiere Pro:

Tip: You are allowed to adjust profile preset before conversion, including codec, bit rate, frame rate, sample rate and audio channel according to your needs and optimize the output file quality. But it's better you use the default profile settings because they are the most optimized for each output devices.
Step 3. Convert Sony Handycam HDR-PJ790V/PJ780 AVCHD footages to MOV.
Click the "Convert" button to start the fast transcoding Sony HDR- PJ790V/PJ780 MTS to MOV for Avid/Adobe Premiere Pro on Mac.
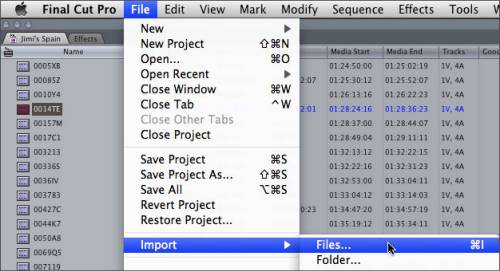
Once finished, you could locate the generated .MOV files by clicking "Open" icon and transfer these MOV files to Avid and Adobe Premiere Pro for video editing on Mac.
Read More:
How to Solve the freezes when importing MTS media to Premiere CC-2015.3?
How to Convert MTS/M2TS with Handbrake Easily?
Best Solution to Play Sony MTS/M2TS Files on MacBook Pro
Play MTS on Smart TV (Windows and Mac Solutions)
Top 5 MTS/M2TS Video Editors for Mac
Top 5 MTS/M2TS Video Editors for Windows (10, 8.1, 8, 7, XP, etc)
Fix Choppy Issues When Importing AVCHD Files to FCP
Join and Convert MTS/M2TS Files for playing with VLC Player
How to Convert 3D AVCHD MTS to 3D Tablet for Watching?