Most movies or TV shows especially some high definition sources streamed over the Internet are using the MKV file extension. The problem is that MKV file is usually in large file size and take a lot of your hard drive space, then you may come the need to compress MKV files into smaller file size. Although there are many programs on the market can do the MKV file compressor job for you, however, you may find that some of them are too complicated to operate, others may won't ensure you to produce a high quality smaller video file. following part will introduce you some effective way to reduce MKV file size with our intuitive and simple to use MKV file compressor - Pavtube Video Converter Ultimate, which helps to efficiently shrink MKV file size by adjusting video container, resolution, frame rate, bit rate, frame rate, video length, etc.
Ways to compress MKV file size
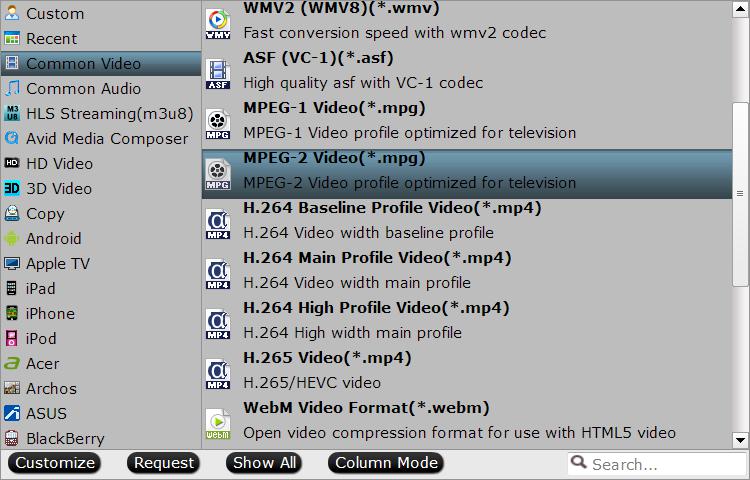
Solution 1: Compress MKV to small container file format such as WMV, FLV
Both FLV and WMV files are smaller container file format for compressing files. For those people who wish to send file via email or store the files on your hard drive, WMV can be your best choice. If you have the need to share files over the popular video sharing sites such as YouTube, Vimeo, Facebook, etc, FLV will do the job best.
Solution 2: Change MKV file video resolution, bit rate, frame rate, etc
Adjust MKV file resolution: The higher resolution of a video file, the clearer effect of the video picture. However, you may also get a large file size. You can change the video resolution of a 4K video to 1080p or 720p with the resolution of 1980*1020 or 1080*720 or adjust a high definition video to small file size video with the resolution of 640x480 or 640x360, etc.
Change MKV file bit rate: Lower the MKV video video bit rate will help to decrease the video file size, therefore, always make sure to make a good balance between file size and quality.
Tweak video frame rate: You can reduce your video file size by lowering the frame rate of your video with 10-15 fps. But reducing the frame rate will also effect the smoothness of the video playback. You will need to experience to find the lowest accepted frame rate value.
Solution 3: Trim/Crop MKV file
For those people who don't want to suffer any quality loss, the best way to trim MKV file length by cutting off unwanted parts or segments and leave only your unwanted parts or crop off the unwanted black bars or size area around the video frame.
Related article: Compress Video for Email YouTube Vimeo Facebook | Compress MP4 Files Windows Mac | Top iPhone Android Video Compressor
Shrink MKV file size with Best MKV file compressor
The best MKV file compressor - Pavtube Video Converter Ultimate we mentioned above can better compress MKV files with the different solutions listed above. You can not only change the MKV container to WMV or FLV for convenient email or online sites sharing, but also lower the video resolution, bit rate, frame rate flexibly with accepted value in the program's "Profile Settings" window but also trim the video length or crop the video file size to get a smaller file size video with no quality loss.
For Mac users, you can switch to download Pavtube iMedia Converter for Mac to perform MKV file size shrinking job on macOS High Sierra, Mac OS X El Capitan, Mac OS X Yosemite, Mac OS X Mavericks, etc.


Get Pavtube Video Converter Ultimate with 20% off discount, coupon codec: 45K2D47GJH |
Step by Step to Compress MKV File Size with Best Quality
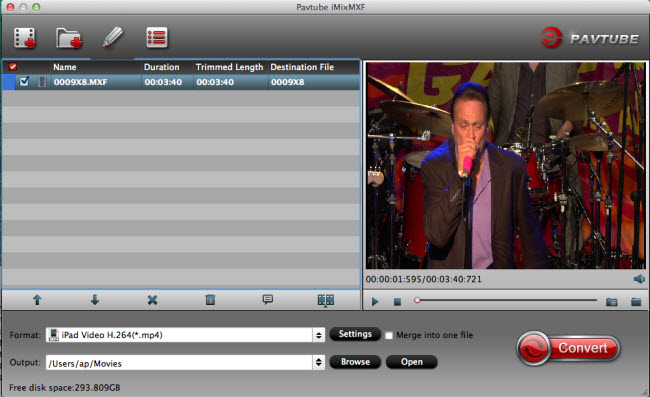
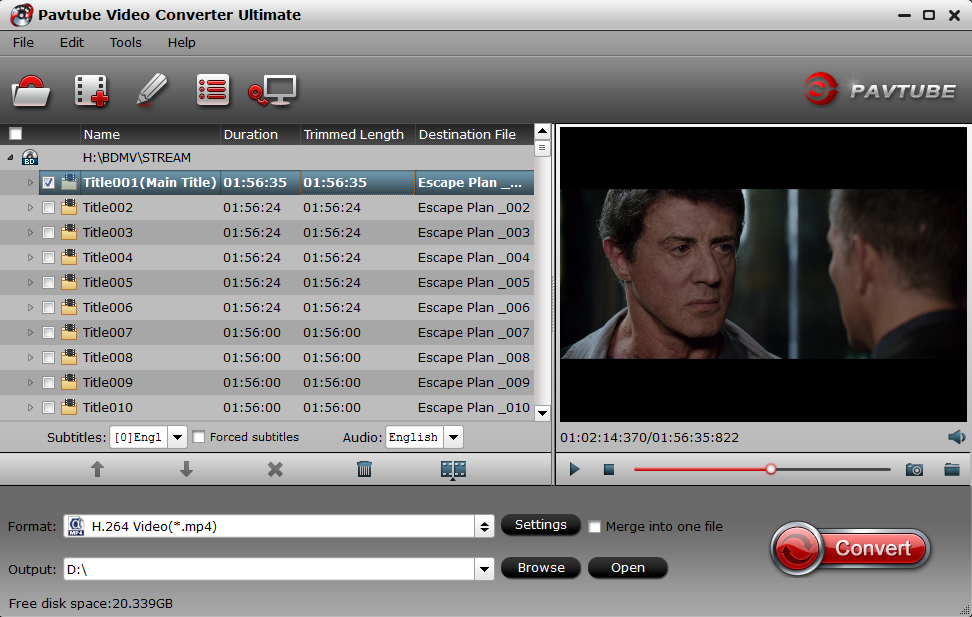
Step 1: Load MKV files into the application.
Download the free trial version of the program. Launch it on your computer. Click "File" menu and select "Add Video/Audio" or click the "Add Video" button on the top tool bar to import source MKV video files into the program.
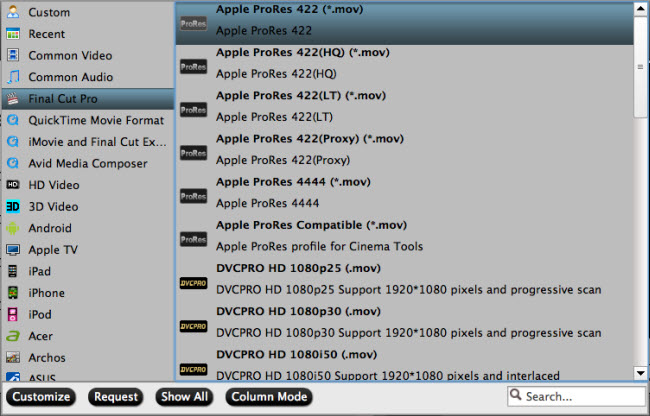
Step 2: Output a file format with small file size.

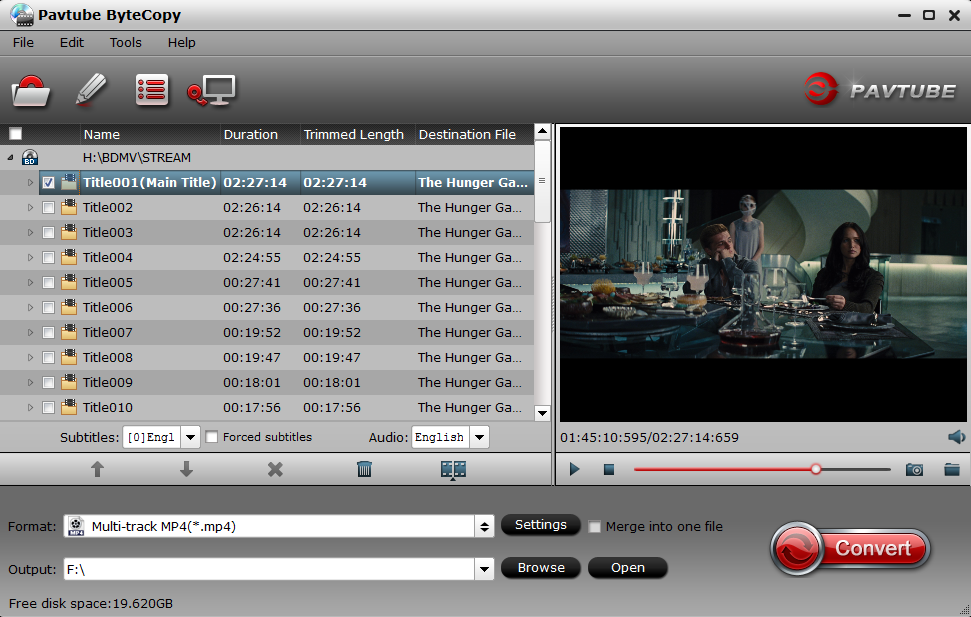
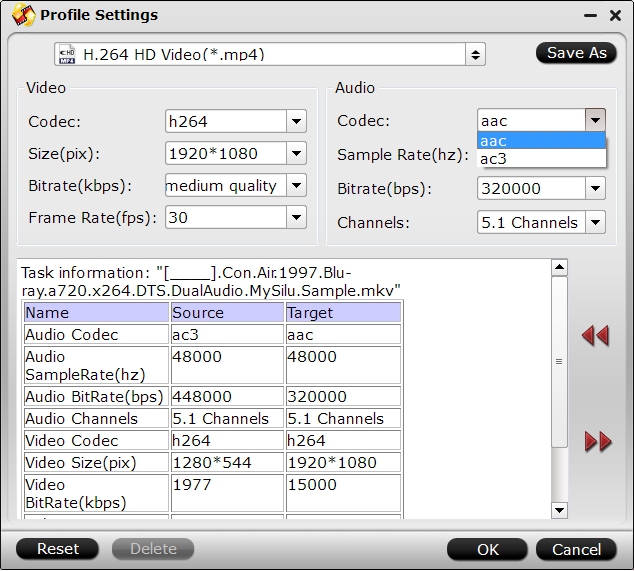
Step 3: Adjust output profile parameters.
Change output profile parameters such as frame rate, bit rate and resolution to reduce mp4 file size. Please bear in mind, excessive reduction of the parameters will bring about quality degradation. This program can keep a good balance between the file size and image quality. You can simply leave the parameter settings unchanged after choose the output format.

Step 4: Trim or crop MKV file size.
Select one item on the file list to active the pencil like "Editor" icon on the top tool bar, hit the "Edit" icon to open video editor window.
Trim: Click "Trim" button, you can drag the slider bars to include the segment you want to remain, click the left square bracket to set start point, and click the right square bracket to set end point when previewing the video or directly input specific values to "Start" and "End" box.
Crop: Hit the "Crop" tab, drag the green dash line around the video to remove the black edges in the video frame.

Step 5: Start MKV file compression process.
Specify an output folder on your computer for storing the converted files. Then hit right-bottom "Convert" button to start to compress MKV files on your computer.
When the conversion is completed, you will have no problem when do file uploading or emailing with compressed MKV file size.
Related Articles
Any Product-related questions?support@pavtube.com