Why compress Mavic Pro 4K to 1080p
The Mavic Pro camera shoots both DCI 4K at 24p and UHD 4K at 24/25/30p. When the shooting is completed, you may come the need to compress Mavic Pro 4K to 1080p for the following reasons:
- 4K video is too large in size, it will eat a lot of space of your computer hard drive or mobile devices internal memory
- 4K video playback and editing on computer has strict requirements for the computer processor and graphic cards, you may be disappointed find that your old computer may not powerful enough to handle 4K resolution video
- Even if your computer meet the minimum requirements to play or edit 4K video, you may find that 4K video plays back choppy. This is due to the immense processing power required to play 4K.
- Many editing software or media player software still lack the ability to handle 4K resolution video
- The maximum file size resolution for some popular video share sites is just limited to 1080p
Due to the limitation of 4K video, then it is essential for you to compress 4K to 1080p to make maximum usage of Mavic Pro 4K video.
How to compress DJI Mavic Pro 4K video to 1080p?
To downscale Mavic Pro 4K to 1080p, what you need is simply a 4K video compressor. Here, you can get the job easily done with our powerful yet simple to use application - Pavtube Video Converter. The program has perfect support for both DJI Mavic Pro DCI 4K and UHD 4K, thanks to its batch conversion mode, you can load multiple Mavic Pro 4K video into the program for compression at one time. To let you get full entertainment of the DJI Mavic Pro 4K video, the program allows you to compress Mavic Pro 4K to 1080p or 720p in various different file formats including H.264 HD MP4, H.264 HD MOV, H.265 HD, MPEG-4 HD MP4, MPEG-2 HD, MPEG-TS HD, MKV HD, WMV HD, Divx HD, AVI HD, BDAV HD, etc. Besides common file formats, you can also choose to directly output hot devices or editing application preset HD profile formats with the optimal playback or editing settings.
For Mac users, please download Pavtube Video Converter for Mac to do Mavic Pro 4K to 1080p compression on macOS High Sierra, macOS Sierra, Mac OS X El Capitan, Mac OS X Yosemite, etc.


How to Compress DJI Mavic Pro 4K to 1080p with Best Quality?
Step 1: Load DJI Mavic Pro 4K video.
Download the free trial version of the program. Launch it on your computer. Click "File" menu and select "Add Video/Audio" or click the "Add Video" button on the top tool bar to import DJI Mavic Pro 4K video files into the program.

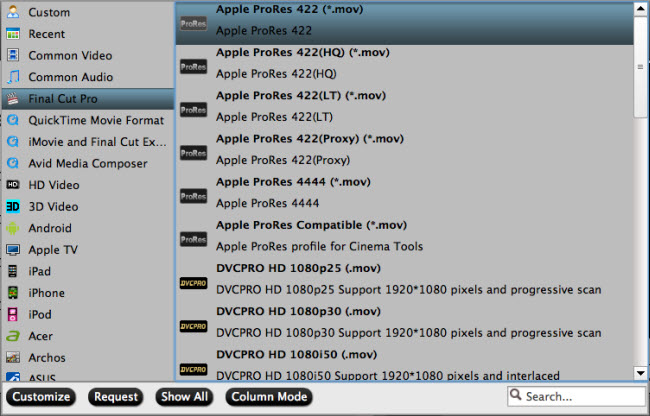
Step 2: Define the output format.
Clicking the Format bar, from its drop-down list, select one of your desire HD file format to compress Mavic Pro 4K to 1080p, here, we choose one of the popular HD file formats "H.264 HD Video(*.mp4)" under "HD Video" main category.

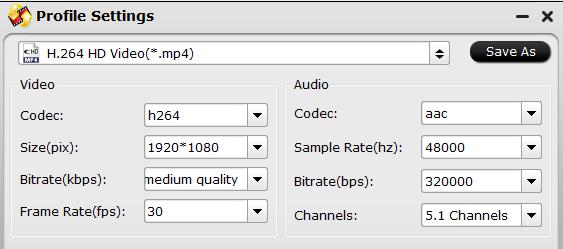
Step 3: Compress 4K to 1080p.
Click "Settings" on the main interface to open "Profile Settings" window, in video section, from "Size(pix)" drop-down list, select "1980*1020" or "1080*720" to compress 4K to 1080p.
Step 4: Begin the final conversion process.
After all setting is completed, hit the "Convert" button at the right bottom of the main interface to begin DJI Mavic Pro 4K to 1080p compression and conversion process.
When the conversion is finished, click "Open Output Folder" icon on the main interface to open the folder with generated files. Then feel free to play, edit and share the DJI Mavic Pro 1080p video anywhere as you like with ease.
Related Articles
Any Product-related questions?support@pavtube.com