DJI has just release Zenmuse X7, the world's first super 35 digital film camera optimized for professional aerial cinematography. This camera system offers multiple recording options, you can record DCI 4K at 30 fps, UHD 4K at 60 fps in Cinema-DNG format and also DCI and UHD 4K in ProRes and H.265/H.264. For Davinci Resolve users, you may be a little confusing how to import and edit all those 4K formats with Davinci Resolve. The following article will show you a detailed guide to get a high quality and high performance editing workflow of DJI Zenmuse X7 4K video with Davinci Resolve.
Media Compatibility of Davinci Resolve with Zenmuse 4K formats
From Davinci Resolve supported file formats, we can see that you can native import the 4K H.264, 4K Prores and 4K Cinema-DNG formats into Davinci Resolve, however, as for the 4K H.265 video, even the latest Davinci Resolve 14 still lacks the ability to handle it.
Transcode DJI Zenmuse X7 4K for Davinci Resolve
To successfully load DJI Zenmuse X7 4K H.265 video to Davinci Resolve, you will need to perform a codec transcoding process. Here, you can get the job easily done by downloading our best H.265 Decoder Software - Pavtube Video Converter. The program supports batch conversion mode, so that you can load multiple video at one time into the application for conversion to save your precious time.
With the application, you can efficiently transcode DJI Zenmuse X7 4K H.265 video to Davinci Resolve editable DNxHD, Apple Prores, QuickTime formats with perfect quality and super fast encoding speed. If your computer is not powerful enough, you can also choose to compress 4K to 1080p to produce a smaller file for smooth post editing workflow.
Edit DJI Zenmuse X7 4K video
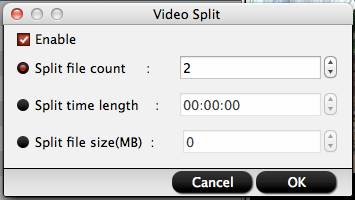
Before loading DJI Zenmuse X7 4K into FCP X, you can do some basic video editing task with the built-in versatile editing tools offered by our application. If you don't want to convert the entire video footage, you can use the trimming tool to remove unwanted parts, if there are black edges around your video frame, you can use the cropping tool to remove them off. You can also merge separate video into single one with the correct order, split large video files into small ones by file size, count or file length. Or add transparent text watermark to video footage.
For Mac users, please go to download the Mac version - Pavtube Video Converter for Mac to perform the conversion on macOS High Sierra, macOS Sierra, Mac OS X El Capitan, Mac OS X Yosemite and Mac OS X Mavericks, etc.


Step by Step to Downscale and Decode DJI Zenmuse X7 4K to Davinci Resolve
Step 1: Import DJI Zenmuse X7 4K videos.
From "File" drop-down option, select "add Video/Audio"to add DJI Zenmuse X7 4K Prores/H.264/H.265/Cinema-DNG 4K files into the program.

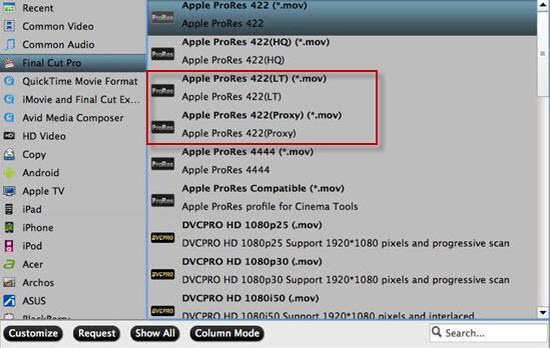
Step 2: Specify output file format.
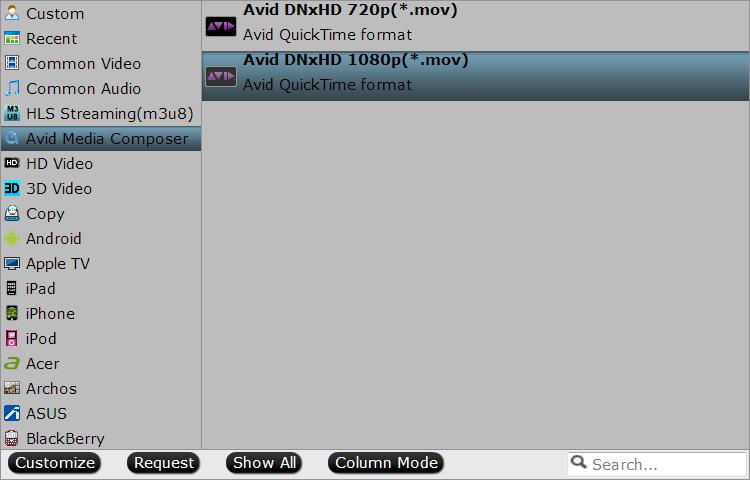
Click the "Format" bar, from its drop-down list, select one of Davinci Resolve supported editing formats such as DNxHD codec.
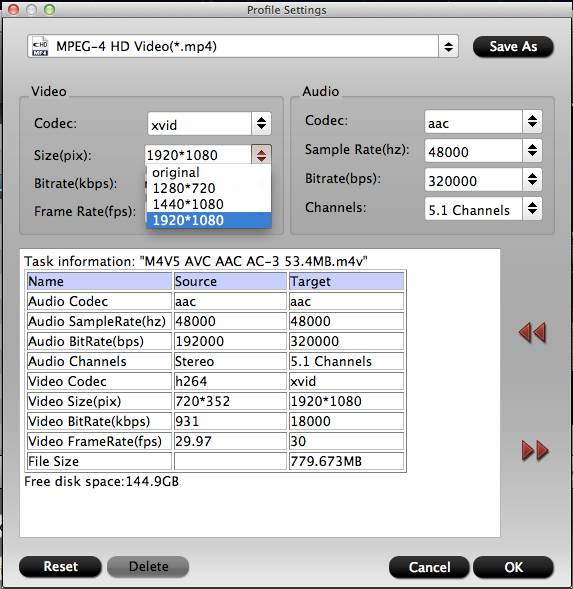
Tips: Click "Settings" on the main interface to open "Profile Settings" window, here, you can flexibly adjust the output profile parameters including video codec, resolution, bit rate, frame rate, audio codec, bit rate, sample rate, channels, etc as you like to get better output video and audio quality.
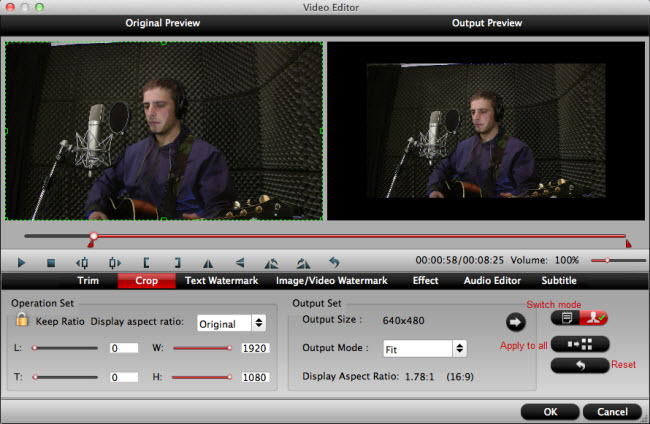
Step 3: Edit DJI Zenmuse X7 4K video.
By default the Edit icon is grayed out. To activate the Edit menu, you have to select an item first. When a video or movie is selected, click the pencil like Edit icon on the left top tool bar to open the video editor window, here, you can play and preview the original video and output effects. Also you can flip or rotate video, trim, crop, add watermark, apply special effect, edit audio or insert external subtitle.

Step 4: Begin the conversion process.
After all setting is completed, hit the "Convert" button at the right bottom of the main interface to begin the conversion process from DJI Zenmuse X7 4K to Davinci Resolve supported DNxHD codec.
When the conversion is finished, click "Open Output Folder" icon on the main interface to open the folder with generated files. Then you can get a high quality and high performance workflow of DJI Zenmuse X7 4K video with Davinci Resolve.
Related Articles
Any Product-related questions?support@pavtube.com