Are you interested in watching some videos you like on iPhone 6 Plus oriPhone 6 from YouTube? Okay, let’s talk about this with other iFans!
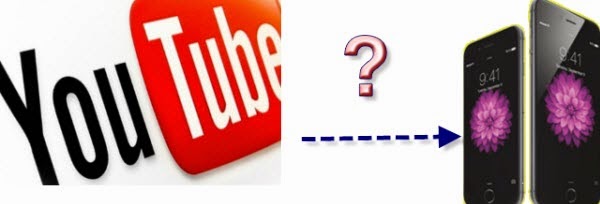
Firstly, before we would like to play YouTube videos on iPhone 6 Plus or iPhone 6, maybe we should make it clear that why and how to share this idea, right? Let’s know more about YouTube and iPhone 6 Plus and iPhone 6.
How much do you know about YouTube?
YouTube is a video-sharing website on which users can upload, share, and view videos. It is a great resource. Since March 2008, YouTube HD Videos have been available in a range of quality levels, with the higher quality levels offering improved picture definition. In November 2008, 720p HD support was added. And in November 2009, 1080p HD support was added. Thus users are allowed to upload and enjoy the HD video on YouTube. So many video formats that can be supported by YouTube: MOV, AVI, MPEG, MPA, FLV, etc.
What's New in iPhone 6 and iPhone 6 Plus?
iPhone 6, beyond sporting the faster next-gen A8 CPU and the new iOS 8 operating system, also comes to us with a bigger yet clearer display with a 4.7 inch iPhone 6 with 1334 x 750 (348 ppi) and a 5.5 inch iPhone 6 Plus with 1920 x 1080 (401 ppi). And supported with a 1810mAh capacity and a 2915mAh capacity battery, iPhone 6 and iPhone 6 Plus are able to sustain 14/24 hours for 3G talk and 250/384 hours for standby, only support the format like MP4, MOV and M4V.
An idea of watching YouTube video on iPhone 6 Plus and iPhone 6?
From above we all know, except the three video formats that can be friendly with iPhone 6 Plus, for other videos, we need a YouTube to iPhone 6(Plus) Converter to make it possible to play videos on iPhone 6 Plus or iPhone 6 with no difficulties. Get more about it? Follow my steps here:
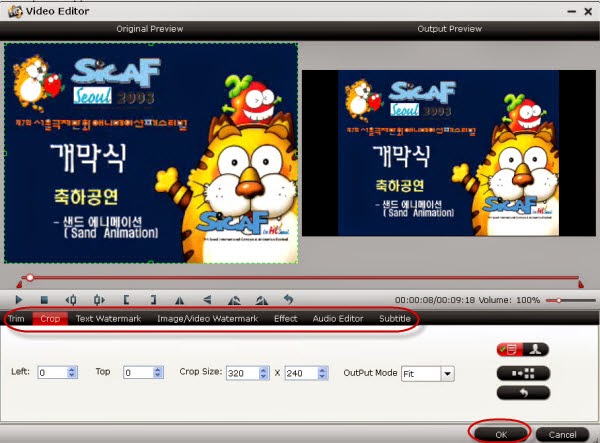
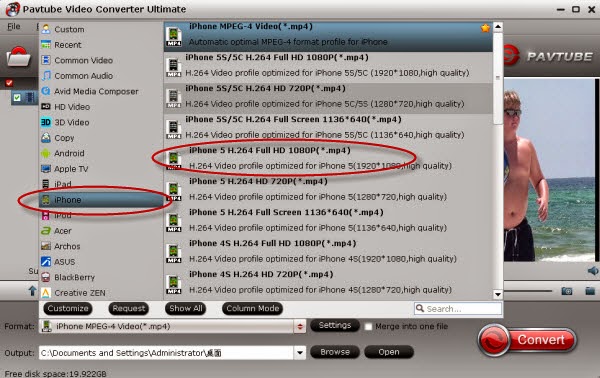
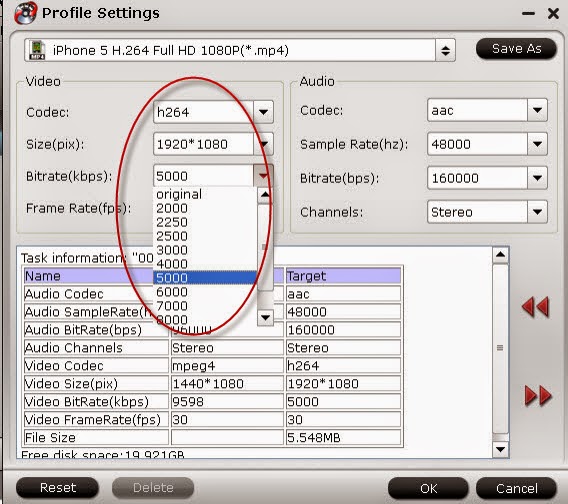
As same as other video converters, after you download the YouTube Video Converter, add your files from YouTube and click the ‘Format’ bar for output video format. The different point to others is this program has the special item s for smart phones, such as iPhone, Samsung, or HTC, etc. just click’iPhone’>>’H.264 Full HD 1080P(*.mp4)’
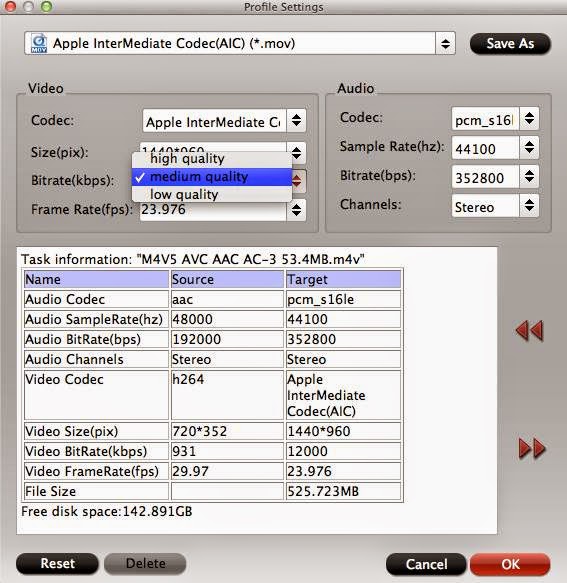
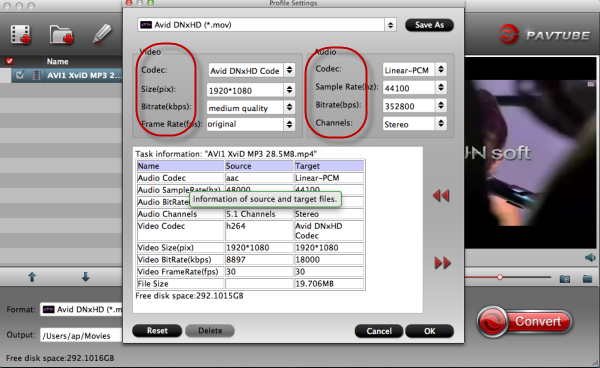
In order to make the output videos more suitable to iPhone 6 Plus and iPhone, you can so some ‘Settings’ with your YouTube Videos before you start ‘Convert’. Size 1920*1080, Bitrates 5000(kbps), etc.
Additional advice:
To those new iFans, how to sync your videos from PC to iPhone 6 Plus and iPhone 6 here may do you a great favor.
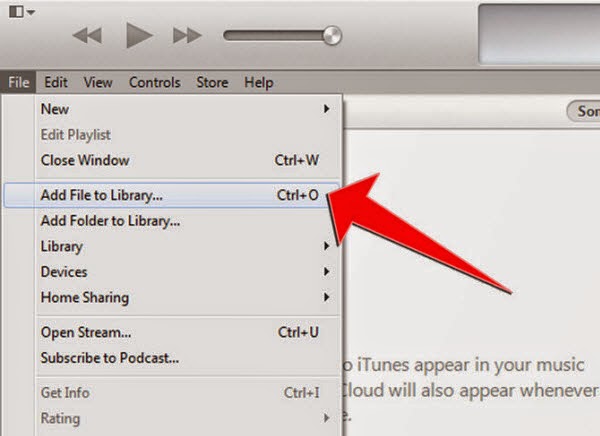
Click “File > Add Files to Library” at the upper left corner of the window. Then select the video files on your computer, then click Open to add the media files to the iTunes library.
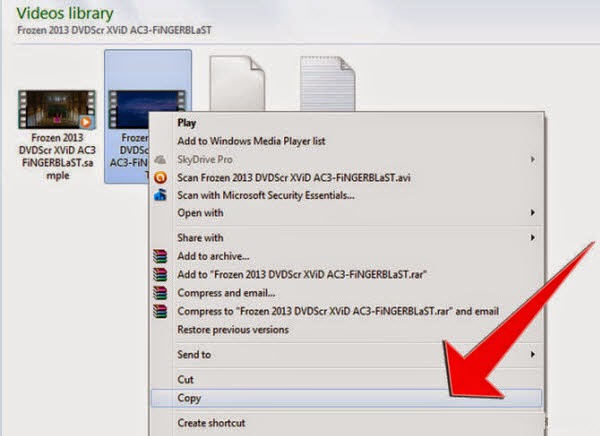
Open My Computer, go to your movies folder and choose the movies you want to copy to your iPhone. Right click then choose Copy.
Related Giudes:
Best Video Formats For iPhone 6 Plus & iPhone 6
Any Ideas on 1080p or 720p SD/HD Videos to iPhone 6 Plus?